Trip Report: Adventures on Montana's Madison River with Tenkara USA
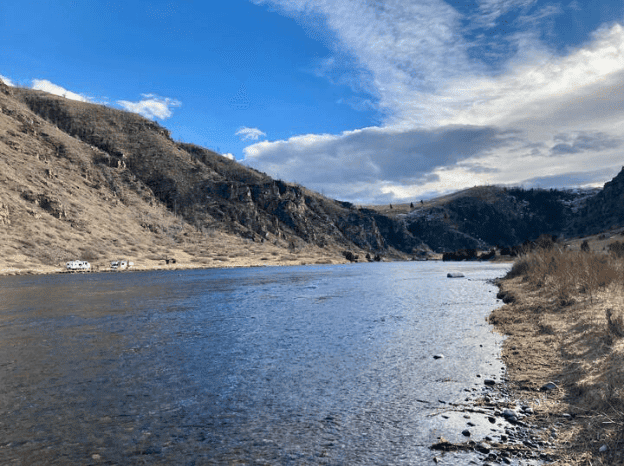
I’ll be honest: I don’t usually plan on fly fishing in Montana in February. Maybe 15-20 years ago, but I can be a real homebody in winter. This year has...

Featured post
Fall is a beautiful time of year in the northern Rockies, but for me, it’s always been a little overrated in terms of fishing. Yes, it can be a great...
I’ll be honest: I don’t usually plan on fly fishing in Montana in February. Maybe 15-20 years ago, but I can be a real homebody in winter. This year has...
Fall is a beautiful time of year in the northern Rockies, but for me, it’s always been a little overrated in terms of fishing. Yes, it can be a great...
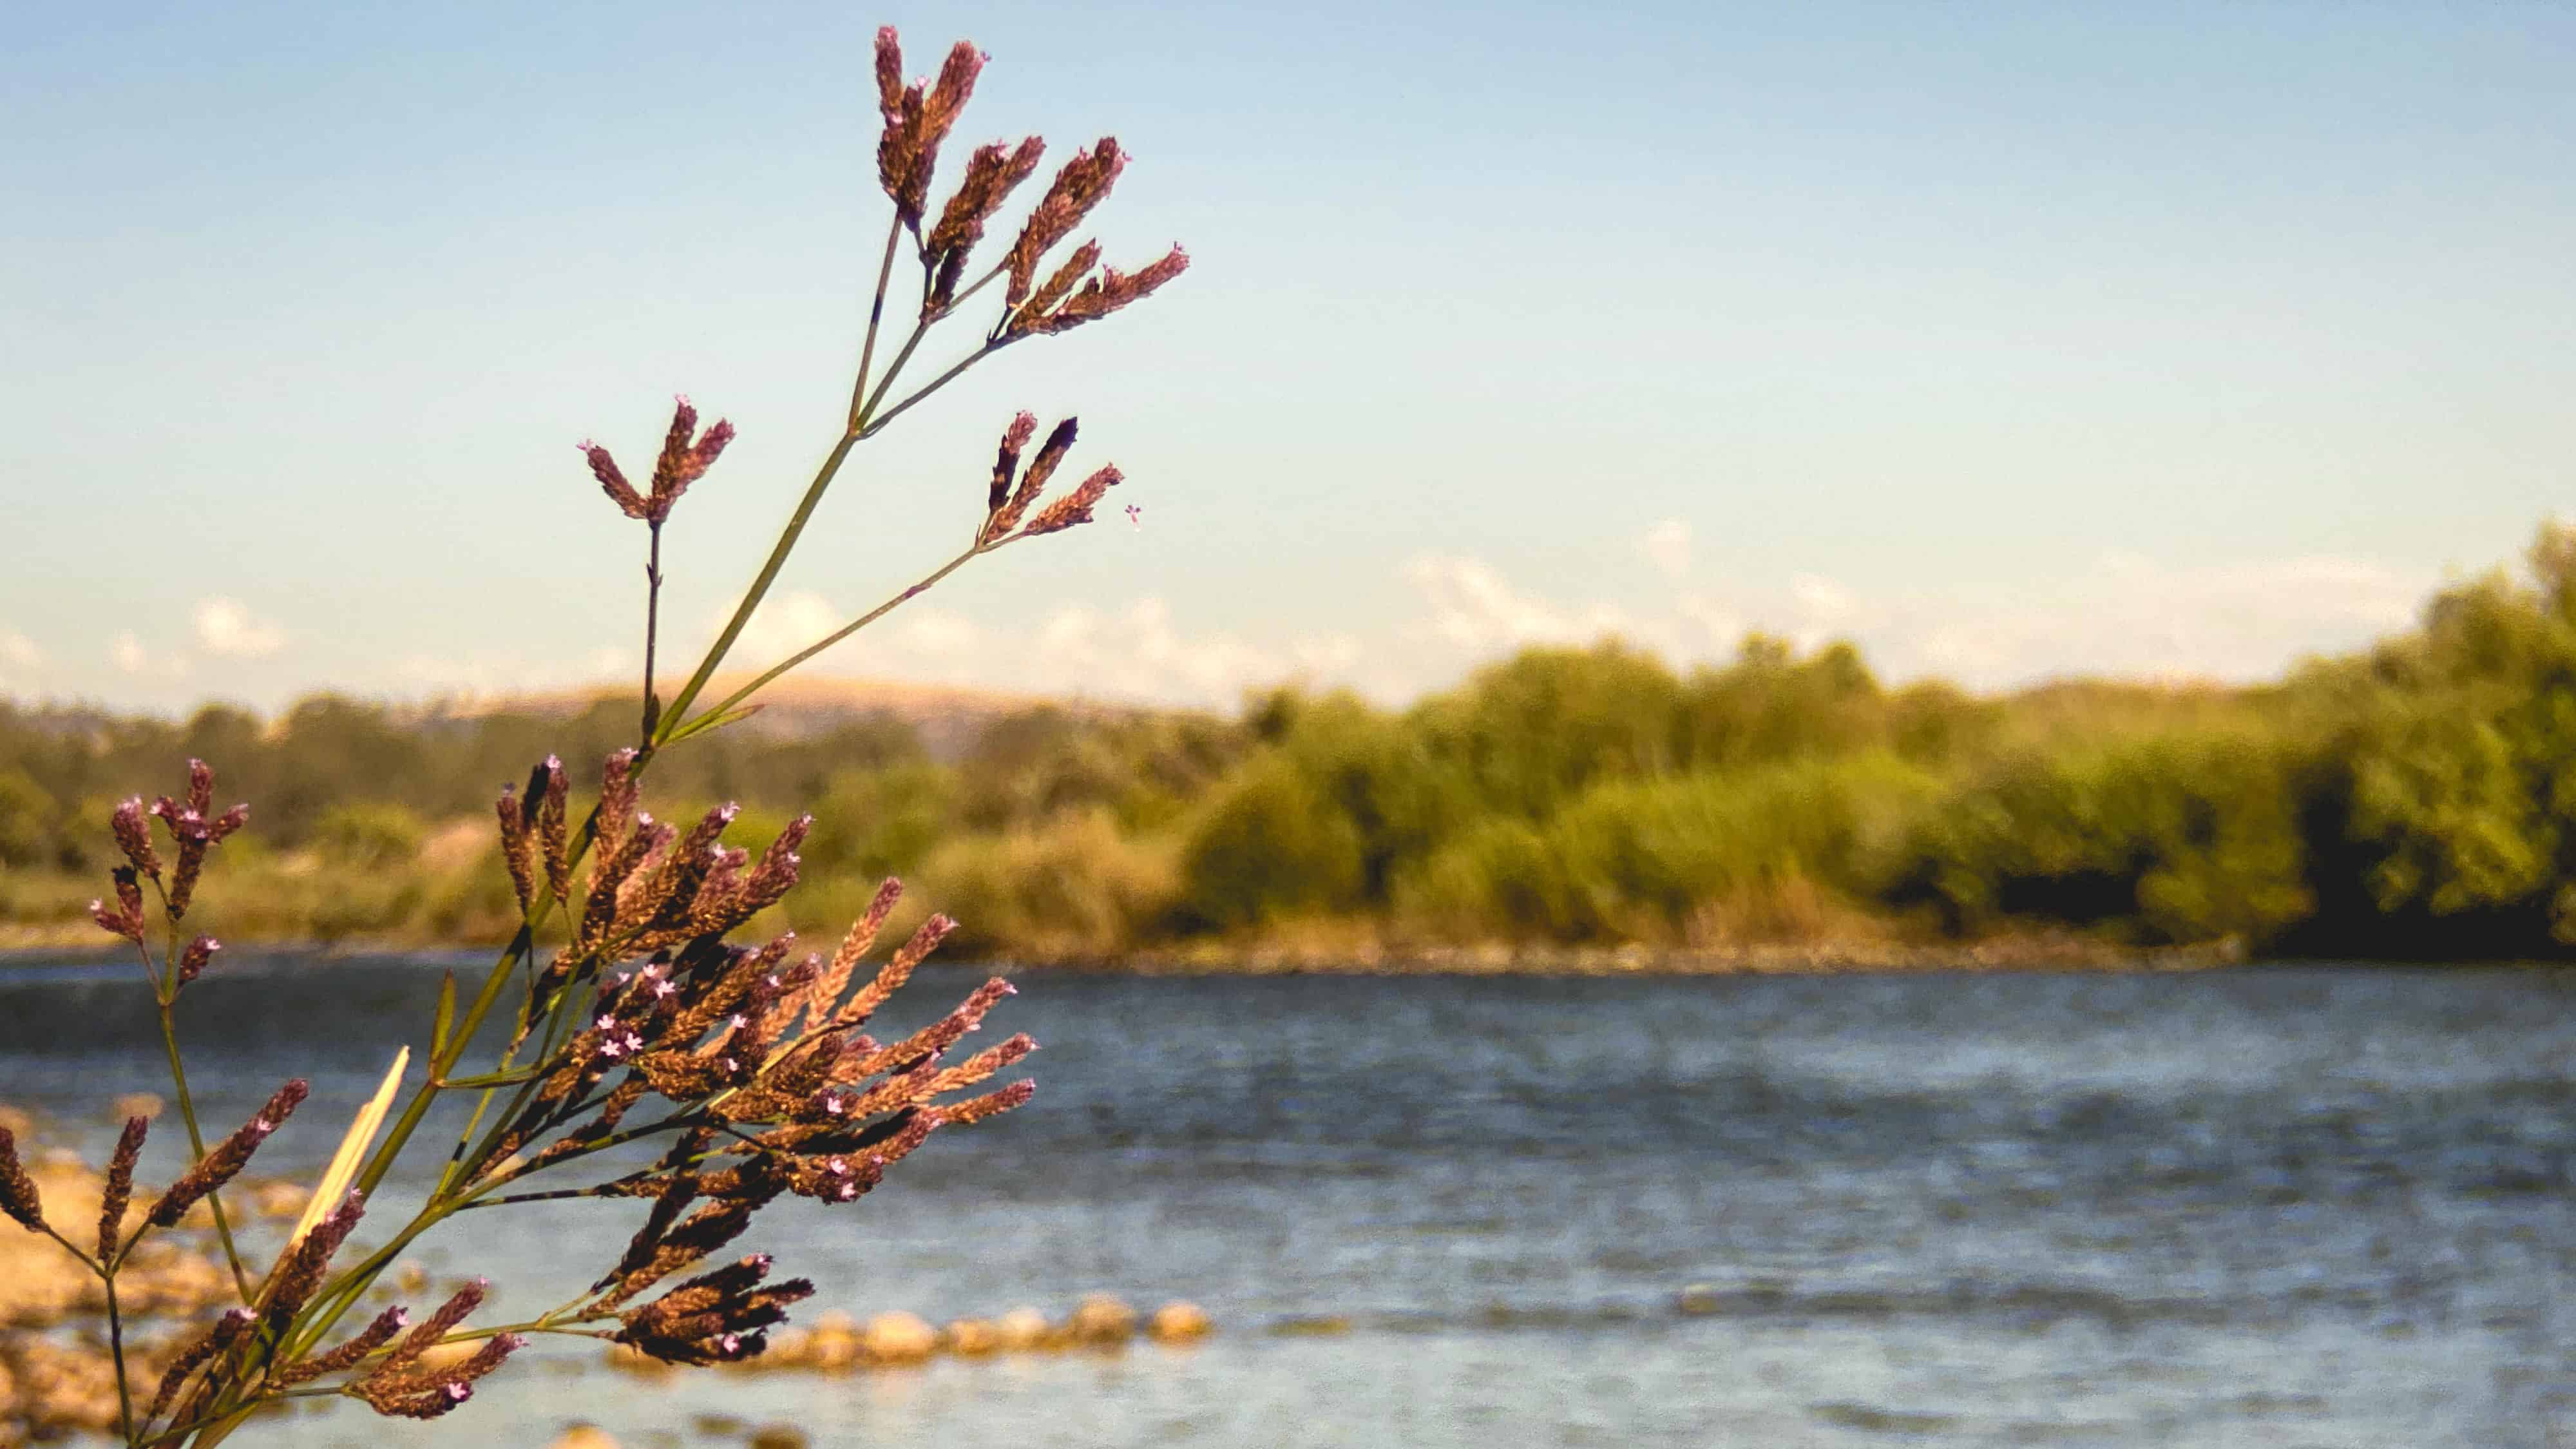
September presents a unique fishing landscape in the Rockies. With summer’s heat transitioning to fall’s first frost, the waters turn low and crystalline, unveiling challenges for anglers. The fish, having...
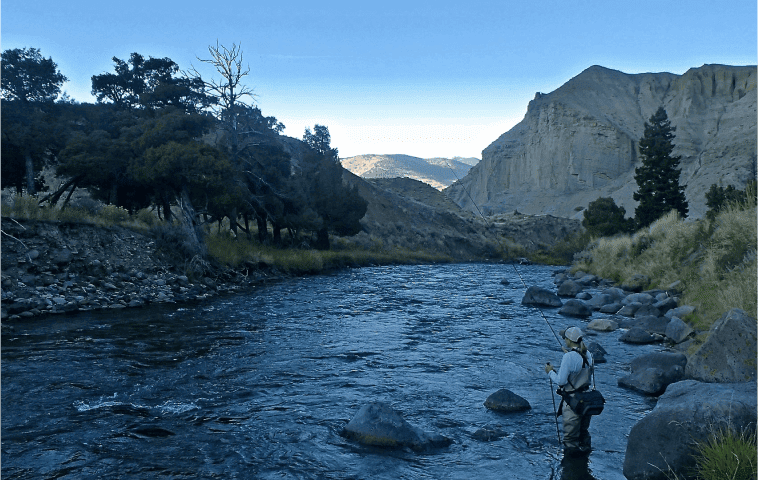
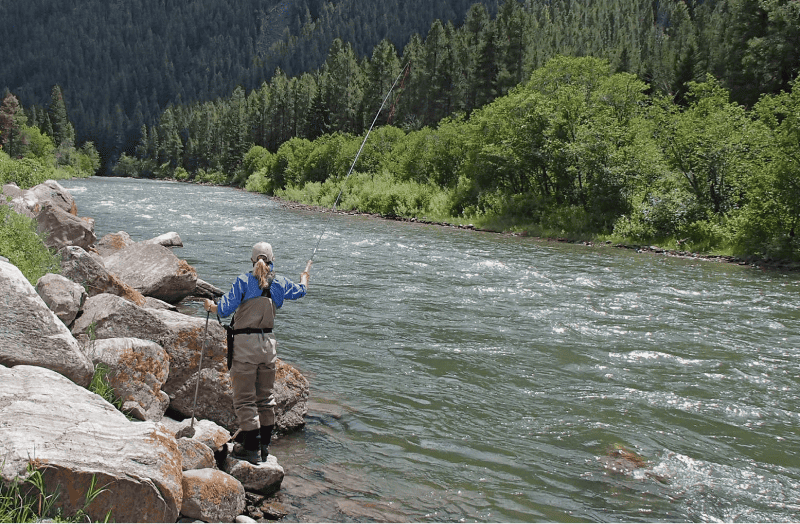
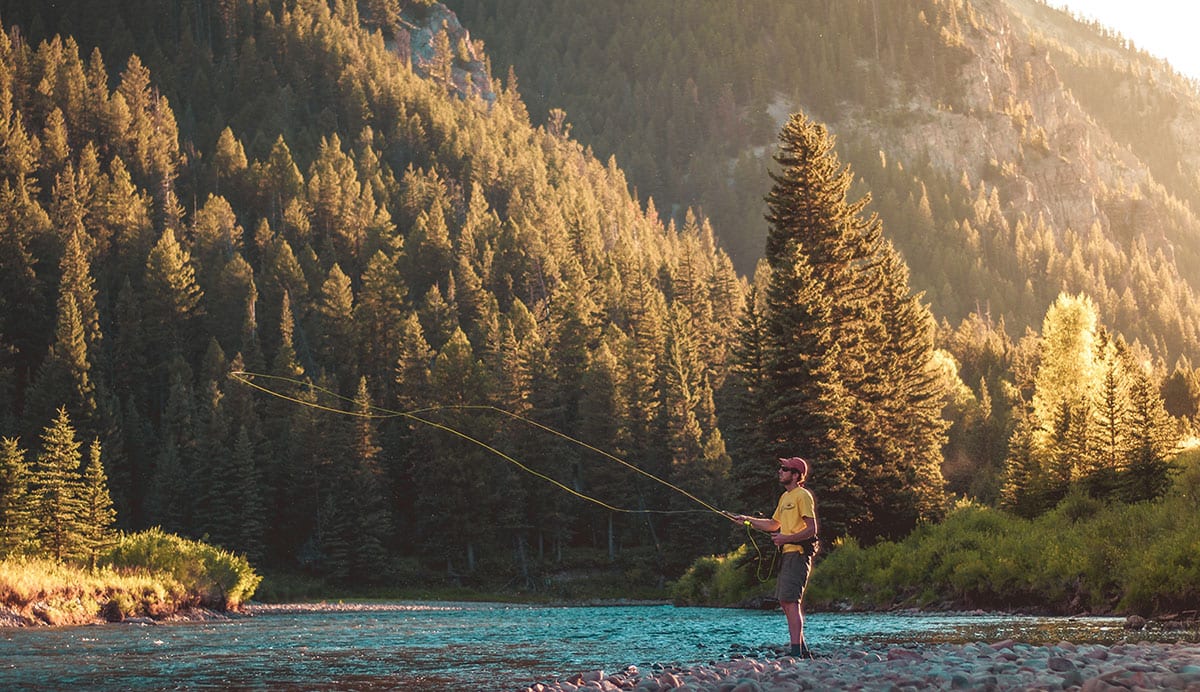
An old guide friend of mine used to say, “The hardest thing about fishing Montana in summer is deciding what to do”. This statement holds true not just for Montana...
Tenkara USA is pleased to extend our selection of tapered tenkara lines. We’re adding a 15-foot furled tapered line to our existing assortment of 9-foot, 11-foot, and 13-foot options, offering...
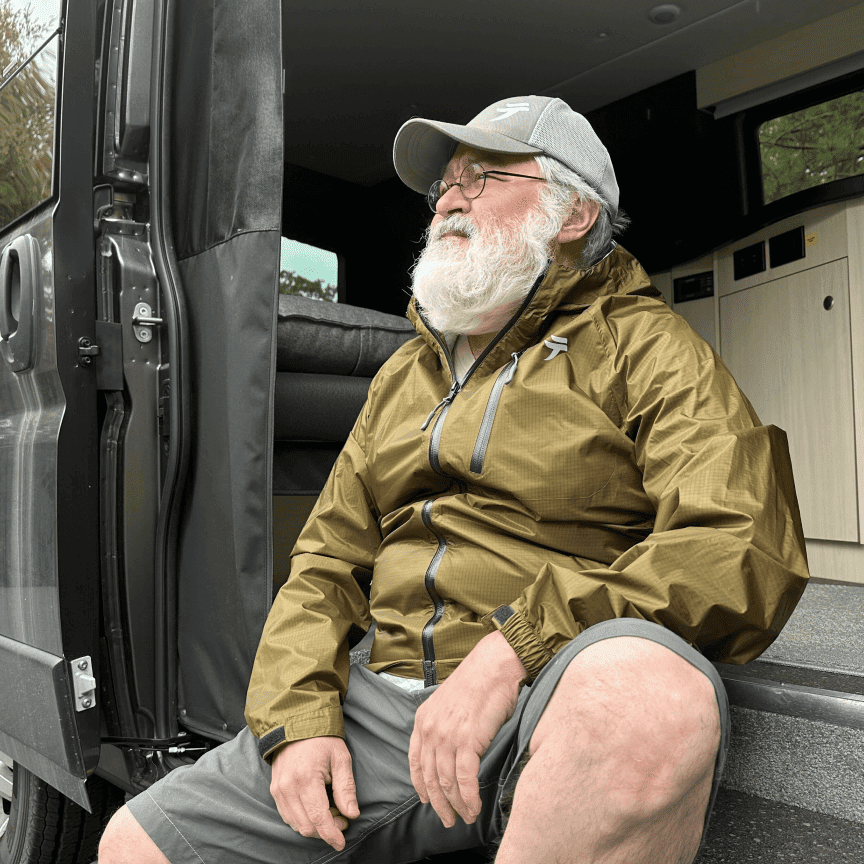
Tenkara USA is proud to introduce a new, truly functional piece of apparel, the Fly-Weight Jacket. Often the best fishing conditions involve inclement weather, and having a portable and effective...
I’ve talked about the gear we like for spring, but let’s dive into tenkara fishing techniques for the season. We can break this down into the when, the where, and...
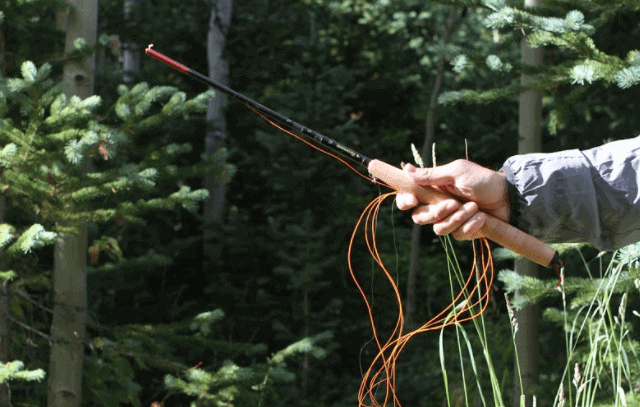
Written by John GeerOne of the most common questions we get at Tenkara USA is, “What is the difference between the kinds of lines for my tenkara rod?” or at...
Written by Martin Montejano While the summer wains, some of the flows throughout the watershed may start to dissipate. Tenkara fishing tailwaters will often offer more opportunities for fishing during the transition...

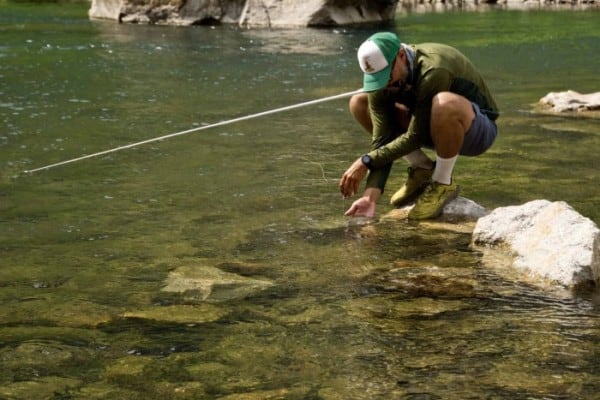
Written by Martin MontejanoThe flows on one of my favorite rivers are just about perfect, the fish are biting, and they should be hanging in the stretches of riffles and...
Tenkara Community Submission Written by Sean Jansen I’ve been fascinated by the combination of activities. Just picking up my fly rod and going down to the local lake or river...
Written by Martin MontejanoWhile the month of June offered great fishing in higher elevation creeks, some of those tributaries’ flows are starting to drop, and the fish are moving lower...
Tenkara is who we are. Hello! Welcome to the second edition of a little series we’ve put together to help you get to know our wonderful crew. Tenkara USA has always been...
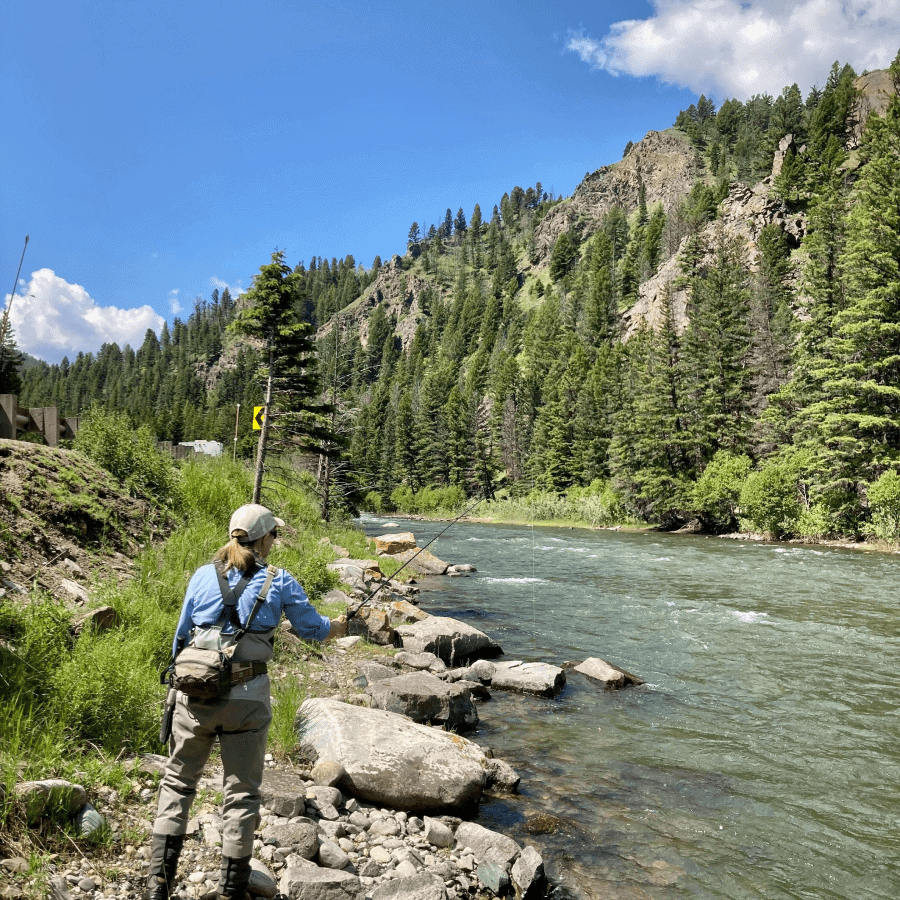
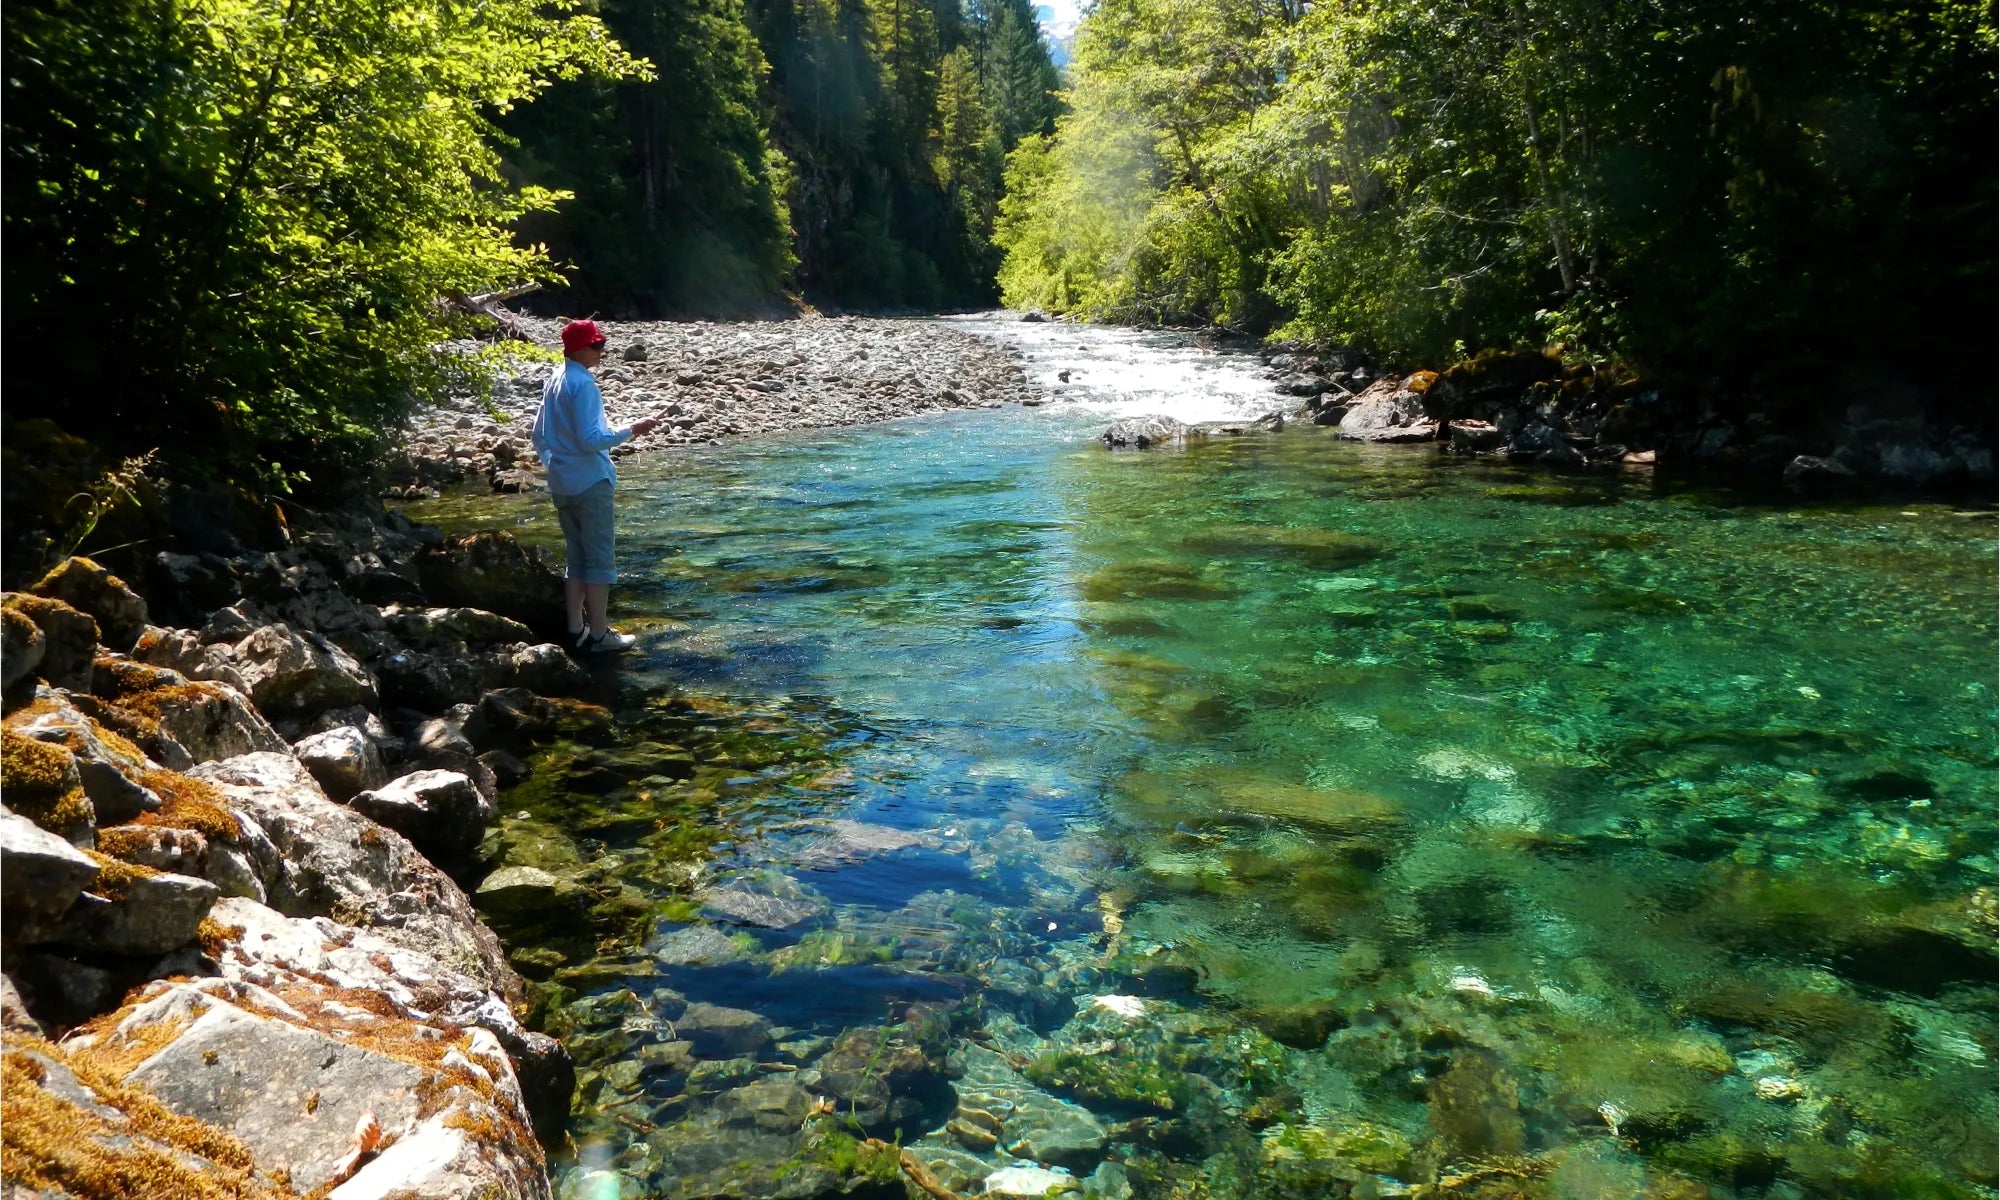
As Spring turns into Summer and the last of the snow in the higher elevations begins to melt away, I redirect my focus to the smaller streams and creeks nestled...
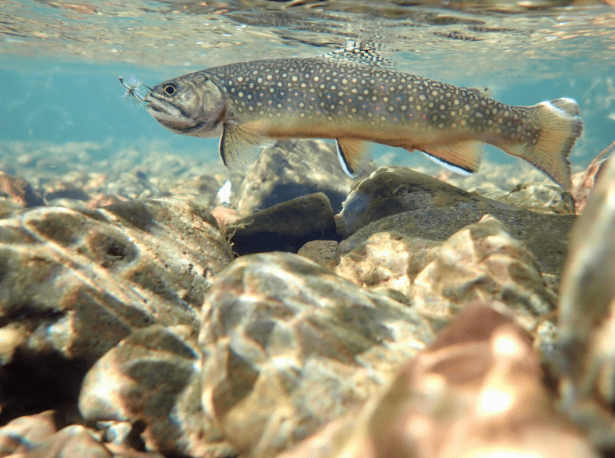
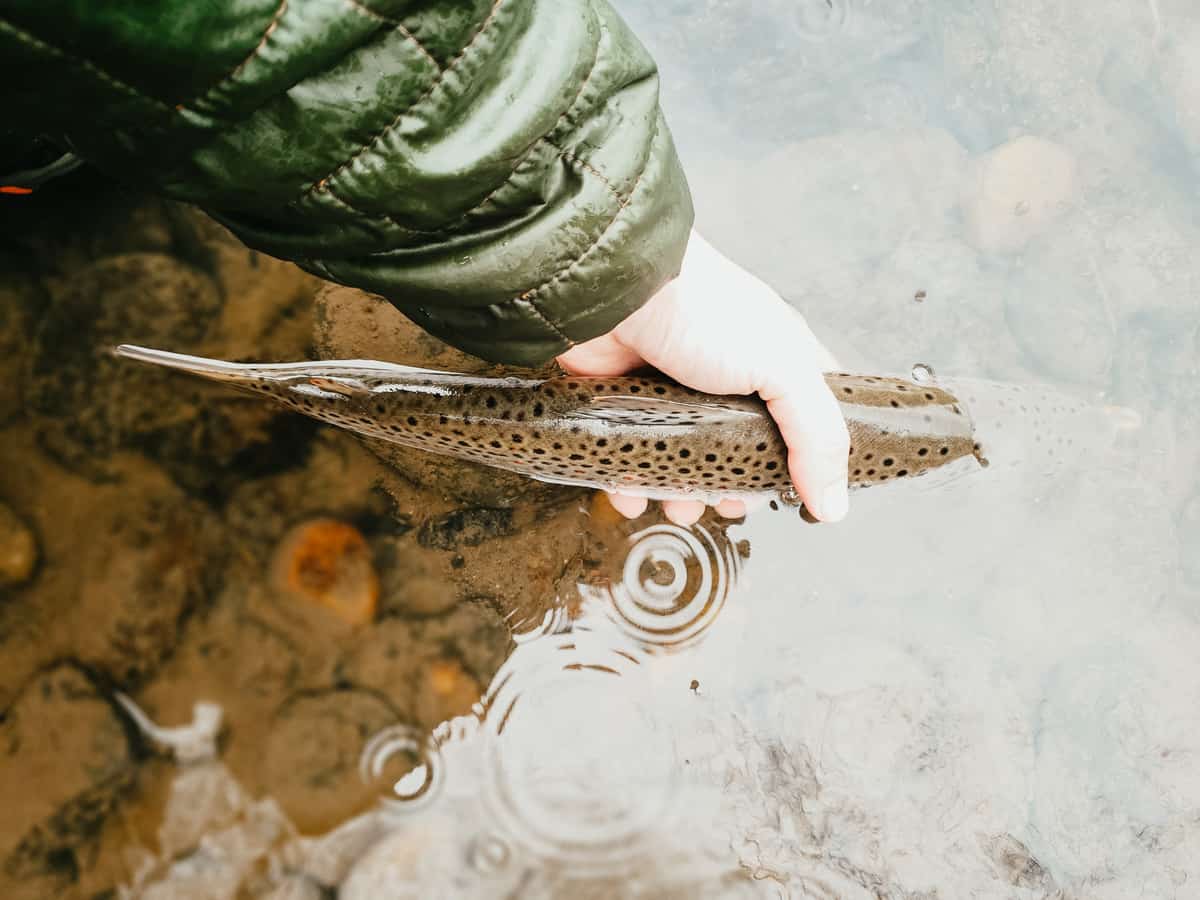
Written by Martin Montejano Dry fly fishing season is upon us! Watching a trout snatch a snack off the top of the water is just about as exciting as it gets! While...
Tenkara is who we are. Hello! Welcome to the second edition of a little series we’ve put together to help you get to know our wonderful crew. Tenkara USA has always been...